
Zapier is a powerful automation tool that allows you to connect different web applications.
And I ❤️ automation.
It enables you to automate repetitive tasks, freeing time for more important things. In this blog, I will describe how to connect Zapier with ChatGPT. And a front-end, in this case, Typeform and an out-put medium Gmail. This is just an example.
Step 1: Create a Zapier account

To get started, you need to create a Zapier account. If you already have an account, log in. If not, you can sign up for a 14-day free account by visiting the Zapier website.
https://zapier.com/ You have 14 days to try Zapier’s paid features.
Step 2: Choose your trigger app
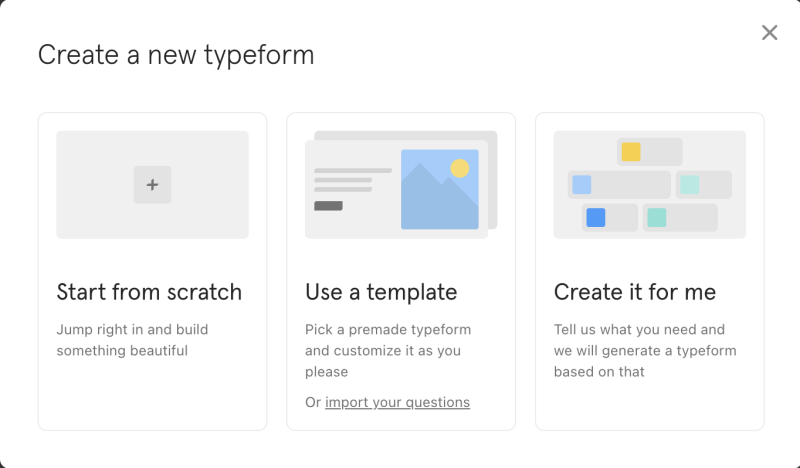
Once logged in, you must choose the app you want to trigger your Zap. In this case, I will use a simple trigger app. Typeform. Let’s create a free account. https://try.typeform.com/home/ and after the steps to create an account, choose to create it for me. Just as a test.
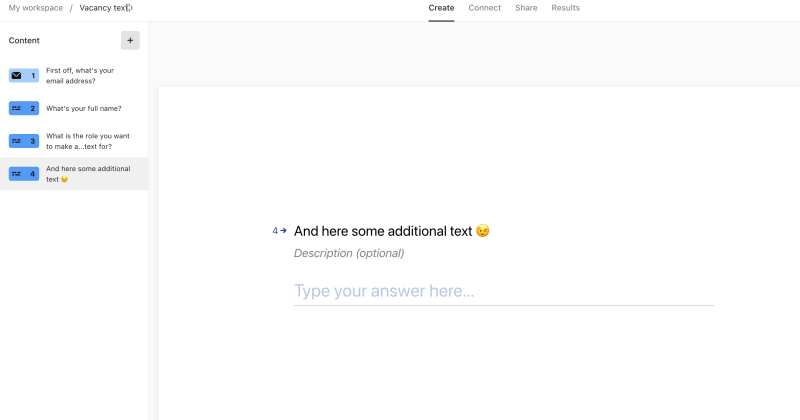
I made just four questions. Email address, full name, the role's name, and just some additional text.
Step 3: Create a trigger
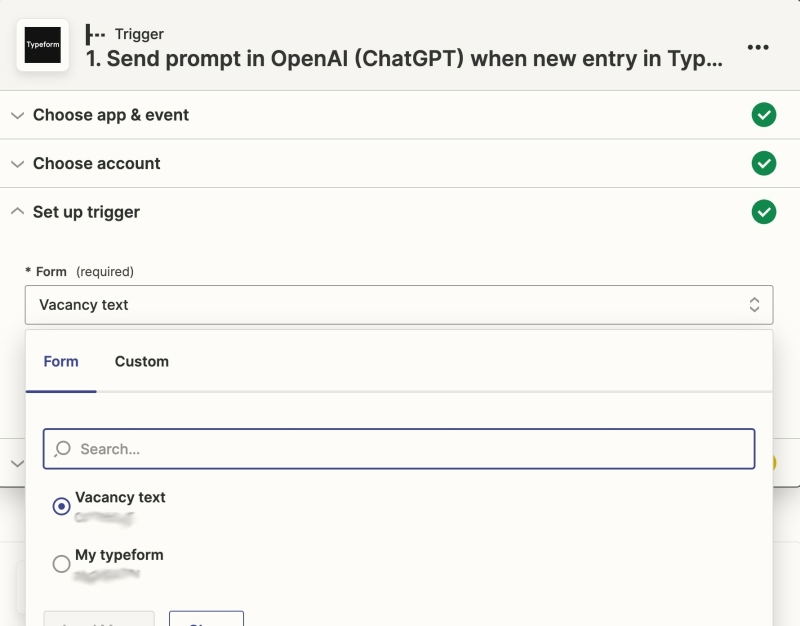
The next step is to create a trigger. This is the event that will start the automation process. For example, if you want to trigger a Zap every time a new Entry is created. When a form is submitted.
Step 4: Choose your action app
The next step is to choose the action app, which is the app that will perform the task. For this tutorial, we will be using ChatGPT as our action app.
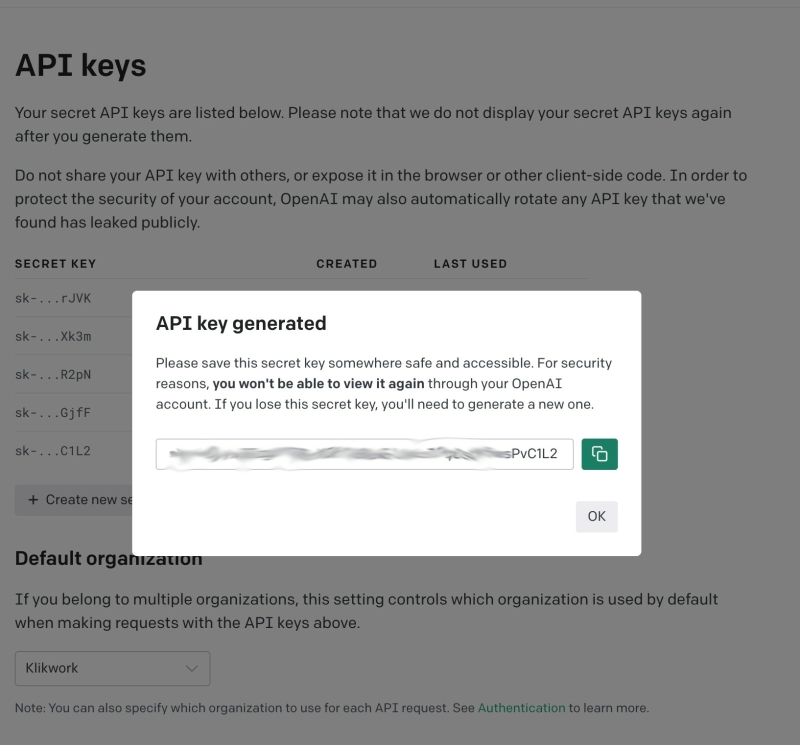
Step 5: Connect your ChatGPT account
To connect your ChatGPT account, you must log in to your OpenAI account and generate an API key. Once you have your API key, you can enter it into the Zapier app and connect your account.
Step 6: Set up your action
Once you have connected your ChatGPT account, you must set up your action. This is where you define what task you want ChatGPT to perform. For example, we want ChatGPT to write a vacancy text.
You want to prompt as well as you can. You want more input. But for now, this is a set-up to explain how this works.
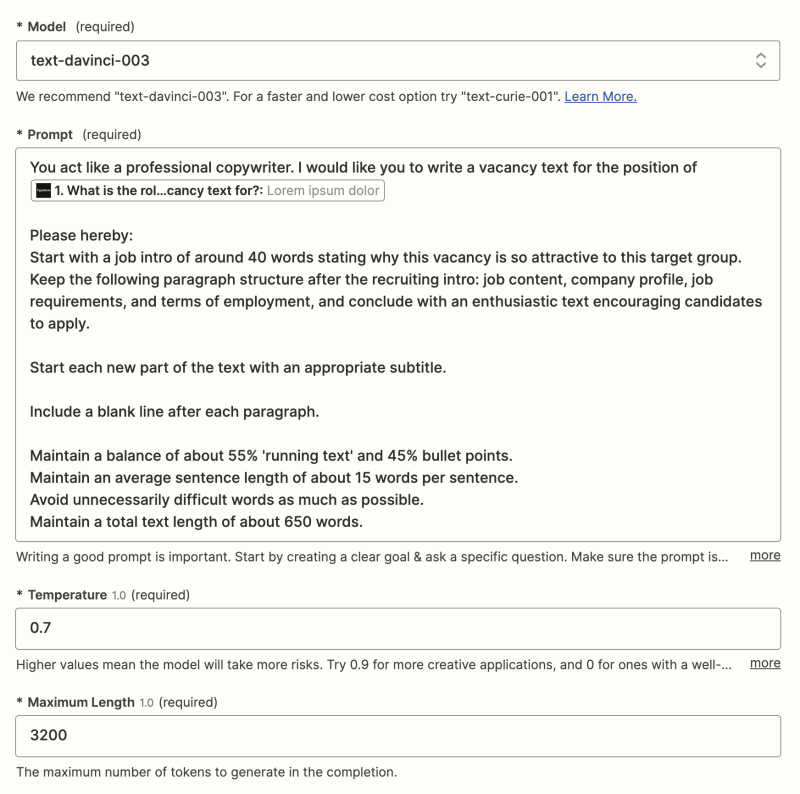
- Model Text-Davinci-003 (this is the same as ChatGPT now)
- Temperature 0.7 leave this as it is
- Maximum length 3200 tokens. 4096 is the maximum number of tokens. But you need to also count in the prompt text. So 3200 is a good number.
Step 7: Add a delay
You need to delay the following Zap action. If you don’t, you do not get the result in Gmail. OpenAi needs time to make the text. Therefore 2-minute delay is necessary.

Step 8: Connect your Gmail
To connect your Gmail account, you need to log in to your Gmail account and give Zapier access to your account. This simple process can be done by following the on-screen instructions.

Step 9: Turn on your Zap
Once you have tested your Zap and are happy with the result, you can turn it on. This will activate your Zap, and ChatGPT will start performing the task you have set up.
If everything is set up correctly, you should see the response generated by ChatGPT in the mail. This is triggered after you have filled out a Typeform.
In conclusion, connecting Zapier to ChatGPT is an easy, straightforward process. This is just one example I automate almost everything with Zapier.